

#gitPanic - Stash

Just realized you've been working in the wrong branch? Forgot to pull before you started working? Think of git stash as stuffing your working directory in your pocket for later.
This blog assumes you have a basic understanding of git or have read Git 101 and Merging and Rebasing.
Working Directory
At its core, git is a data structure for all the changes you make to your code. It makes a record of diffs or differences when you make changes. The working directory is like a state variable for all your work you haven't saved.
You've got your repo open in your text editor. You make a change. You save the file. Unless the file is in your .gitignore, the changes are tracked by git. Tracked changes are added to your working directory as unstaged changes.
As soon as you use git add . they are staged changes in your index.
Once you commit the changes, they're effectively saved. Git will add them to the tree it keeps for you repo and remove them from your working directory. This is why comparing the unstaged changes to the old version of the file is called the working tree.
At this point you may be thinking "committing my staged changes is the only way to save stuff in my working directory," and you'd be wrong.
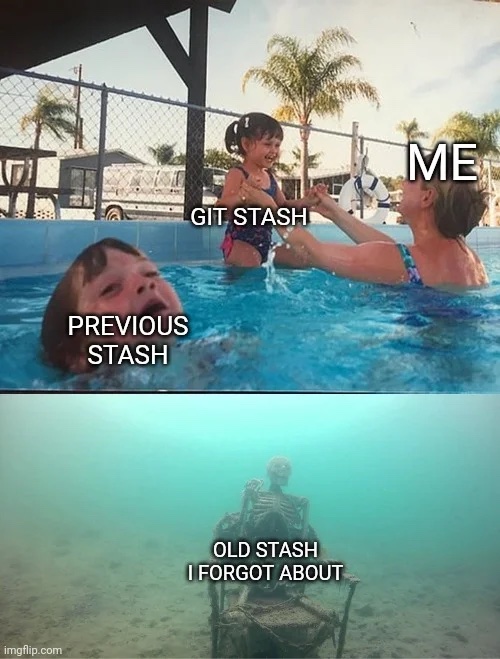
The Stash
I like to think of the stash as a bucket at the base of my git tree holding onto snapshots of my working directory for me.
Technically, running
git stash
records your current working directory in some commits outside your branch and checks out HEAD again for you. Like most things readable in git, a stash is a ref to those commits, and all of the stashes in your repo are stored in .git/refs/stash. This means you have access to everything you've ever stashed no matter what branch you have checked out.
You can stash staged and unstaged files. If you create a new file, you have to run git add <file path> to include it in a stash. If you want to stash only staged files, you can pass -S. If you pass a file path starting with --, only changes in that file or directory will be stashed. If you wanted to save the state of untracked files, you can pass the -u option. If you want to stash ignored files, you can pass -a.
Plain old git stash automatically creates a message for you, like "Saved working directory and index state WIP on <branch-name>: <last commit SHA and message subject>". Remember all the stashes are saved in the same place. When you run git stash list, it lists all of the stashes in your repo. Run
git stash -m "message"
to write your own message - future you will thank you.
Using Your Stashes
If you want to use the working directory you stashed again, you can run
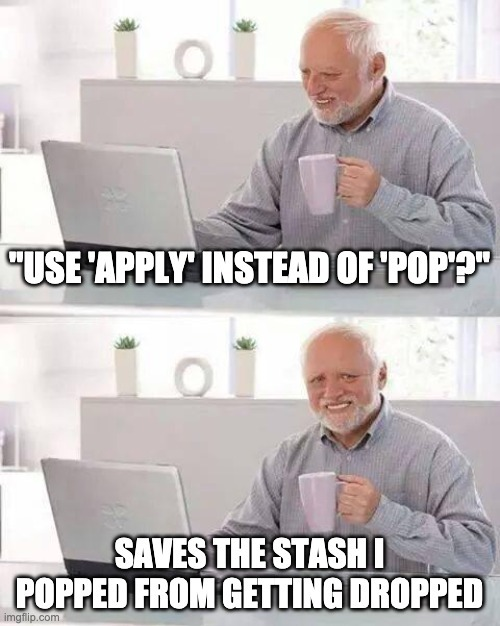
git stash apply
or
git stash pop
Apply will apply the last stash you made. Pop will apply the last stash you made and delete the stash.
To delete a stash without applying it, run
git stash drop
If you want to apply, pop, or drop one that is not the most recent one you made, you pass the index.
To get the index, run
git stash list
and you'll see a list of your stashes. Each of them will have stash@{x} and the beginning, where x is the index number. You pass the index the same way, like
git stash apply stash@{1}
Maybe you started making changes and realized you wanted to save the work, but put it in another branch. To create a new branch from a stash, run
git stash branch <branch name> stash@{x}
Partial Stashes
Turns out, running git stash is like running git stash push with training wheels. It doesn't allow you to pass anything to the command but options or a file path. In other words, you can't pass something that won't work or is misspelled, except for the file path.
On the other hand, git stash push doesn't check these things for you, and you can pass whatever you want. This means git stash -p, which is an alias for git stash push -p will also not be checked. The -p or --partial option creates a partial stash.
Running git stash -p will open an interactive mode editing window and take you through all your changes hunk by hunk. Each hunk is a diff.

Like a multiple choice quiz, every hunk is presented with the question "Stash this hunk?" and you have several options for your answer.
- y = yes, stash that hunk
- n = no, don't stash that hunk
- a = stash this hunk, and all the hunks in this file
- d = do not stash this hunk, or any hunks in this file
- e = manually edit the current hunk
- ? = help, explain my options to me
Commonly used options that you won't see printed using ? are / and s. You can search all the hunks with regex with /. If you want to split a hunk into more hunks, use s. The interactive mode patch git reference documentation lists all your options.
You can stop the process with ctrl + c or hit q to quit at anytime. If you use q, any hunks you've already chosen to stash will be stashed.
Conclusion
My favorite git command just might be git stash. I was excited to learn about partial stashes - I can already think of quite a few scenarios in which they'll be useful.


